What a Full Roost Vans Build Looks Like
Every once in a while we finish a van that’s a really good example of what a complete Roost build looks like when you stack everything together the way we intended it.
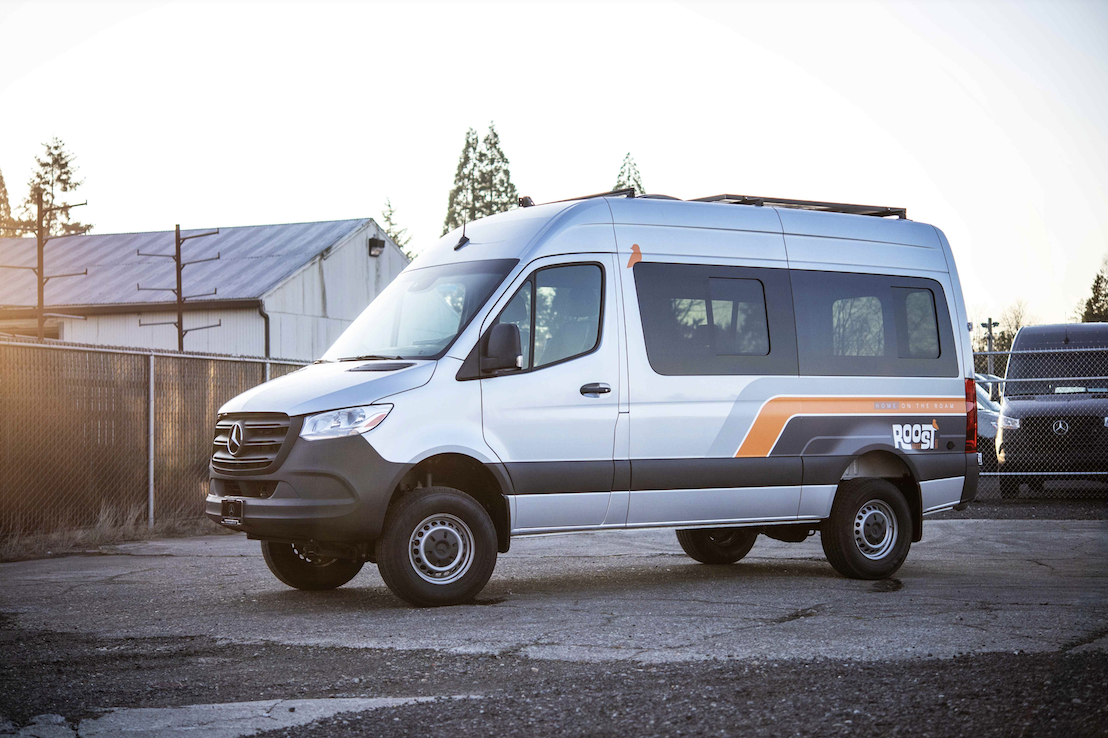
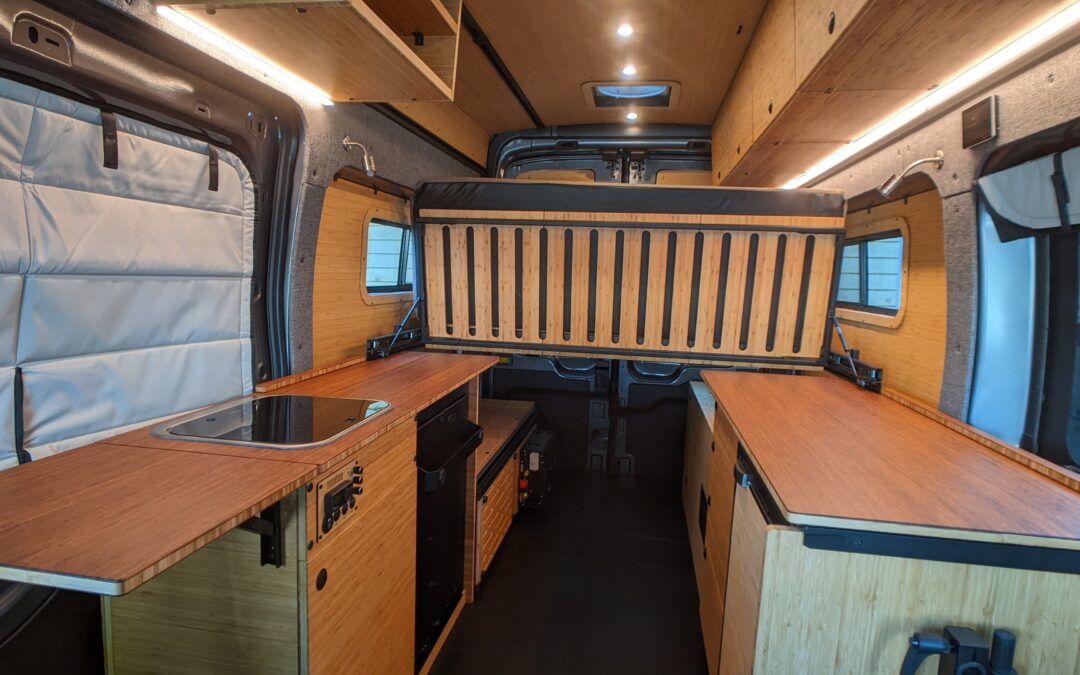
A recent 2024 AWD Transit is one of those vans.
Instead of walking you through it panel by panel, I want to zoom out a little and show you what’s actually happening underneath the pretty parts, because that’s what matters.
A full build isn’t just cabinets and a bed, it starts with the Core.
The Core Build
I say this a lot, the Core Build is like sheetrock in a house and everything underneath.
Our Core includes:
- Mounting System
- Electric
- Insulation
- Wiring
- Flooring
- Upper, Mid, and Lower Paneling
- Vent fan, windows, power station and heater

At the center of that is our: Smooth Rail Mounting System
Everything mounts to it:
- Cabinets
- Bed system
- Upper cabinetry
- Lower cabinetry
- Even future accessories
If you want to add something later, you’re not drilling random holes into your van and hoping for the best. We built it this way because people need change, and we don’t like building vans that paint you into a corner.
Power
Here’s where people either overspend or underthink: Power.
In a full build like this one, we scaled it up to power and include:
- 800 amp-hours of battery to power an autonomous Dometic RTX 2000 air conditioner
- Engine, Shore power, and Solar charging
- Victron monitoring
- Espar heater
All of that runs through our: Power Panel
The idea behind the Power Panel is simple… bring all your wiring to one centralized spot so it’s clean and expandable.
It’s not magic… You still have to wire things correctly. But the heavy lifting is done and you’re not creating a spaghetti monster behind your cabinets. If you want a deeper dive into how we think about batteries, solar, and what actually drains power, I wrote a full piece on it here: Deep Thoughts: On Power in a Van
Most people don’t need as much battery as they think they do. Unless you want to run A/C off-grid for hours. Then we need to talk.

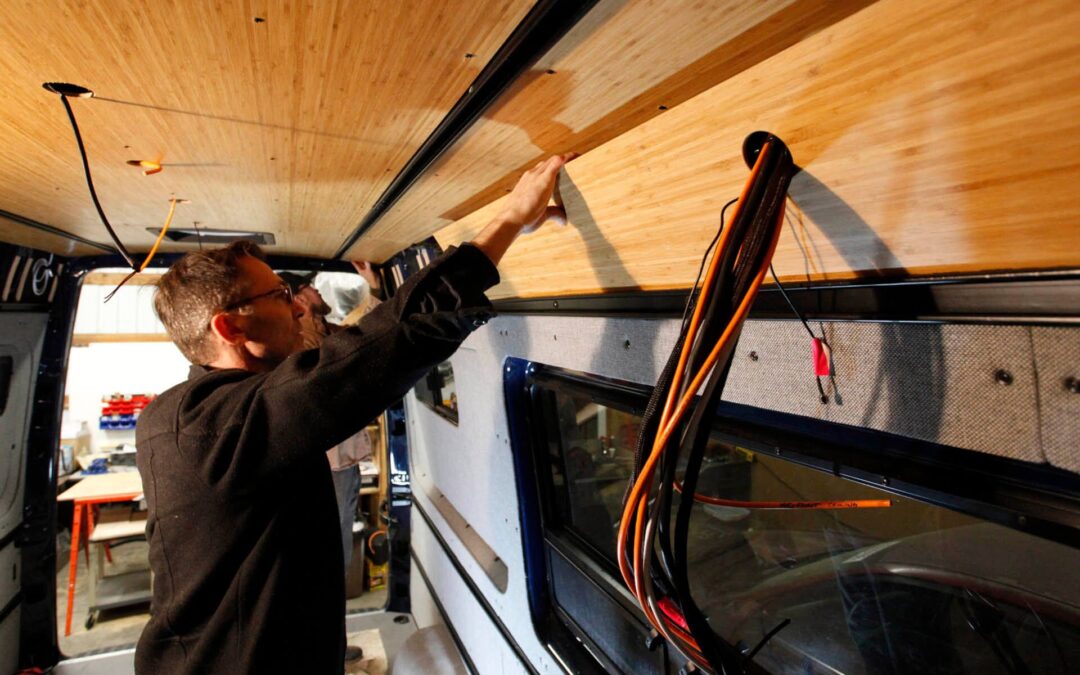
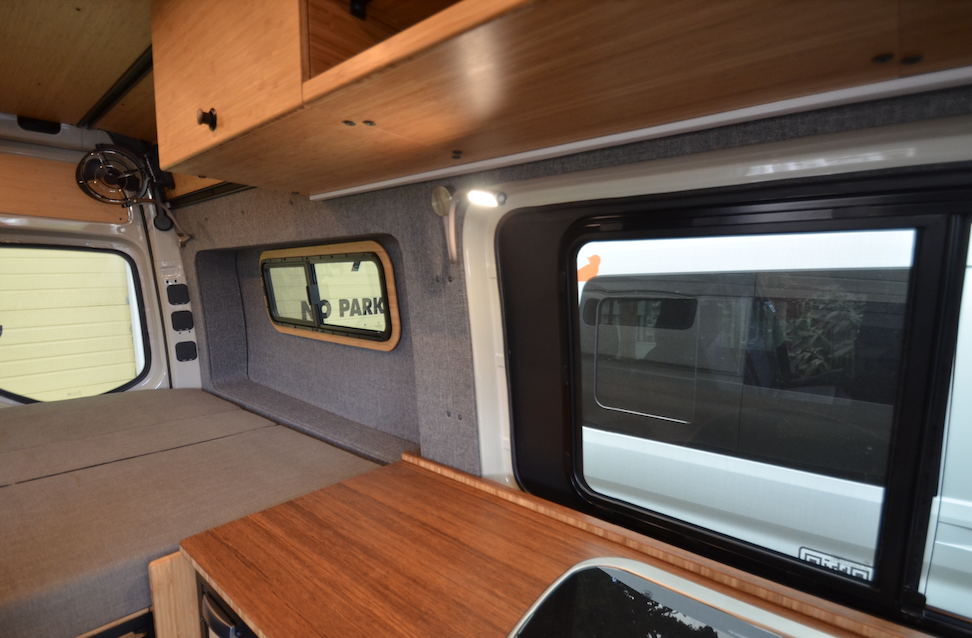
Paneling
There was a time when van paneling meant three weekends, a YouTube tutorial, and a lot of regret. We don’t do that anymore. Our paneling integrates with the Smooth Rail Mounting System so you can remove a panel later without tearing apart the van.
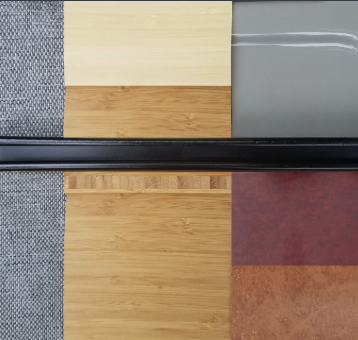
Upper, mid, lower: finished bamboo, unfinished bamboo, HexPly, fabric wrap… whatever direction you want to go.
In this build, we paired HexPly flooring with powder-coated trim and Minicel underneath. It’s durable, serviceable, inexpensive, finished, and best of all, it doesn’t squeak.
If you want the full rant on paneling, it’s here: Roost Vans Thoughts on Paneling
Short version: it should be clean and serviceable. Not traumatic.
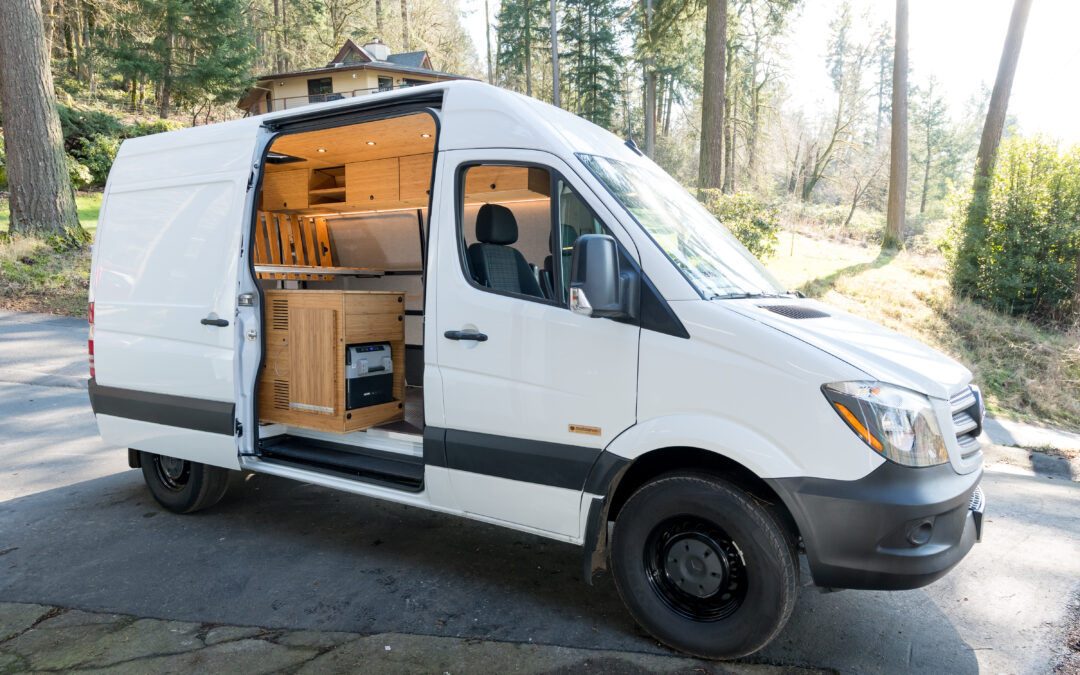
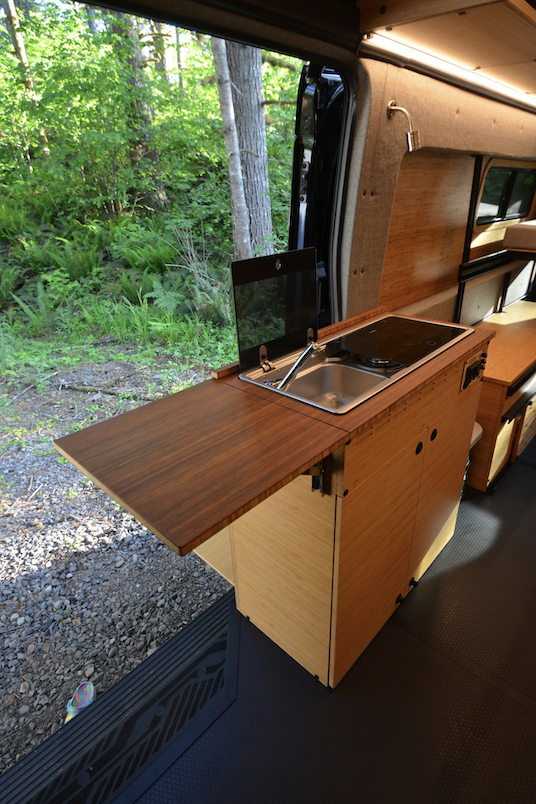
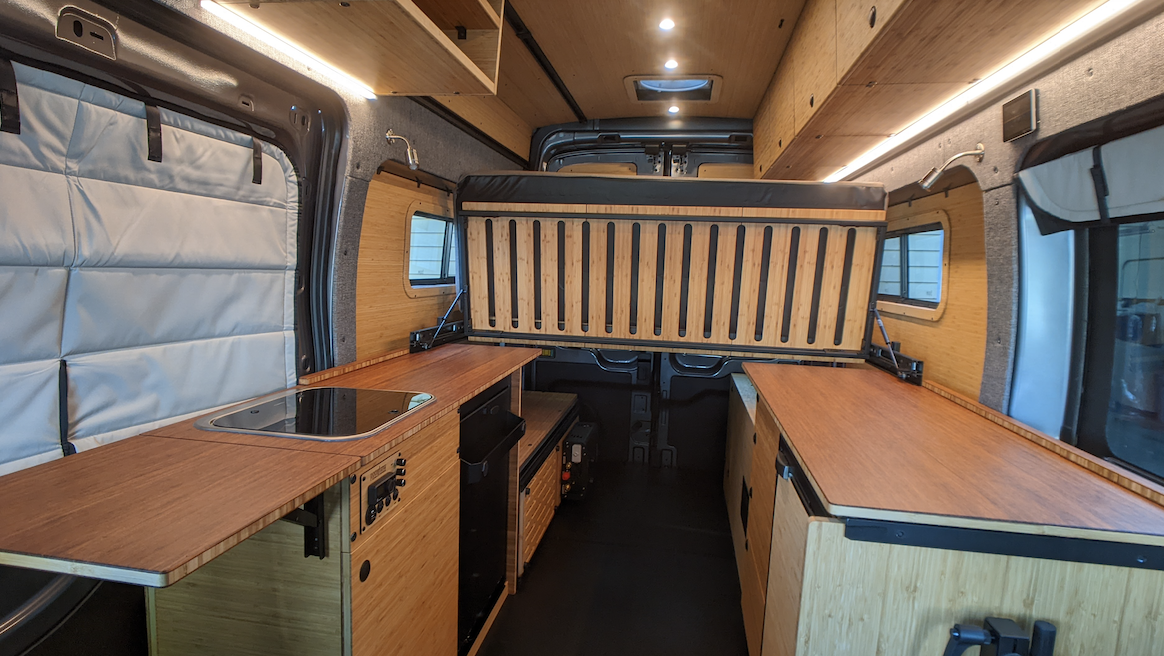
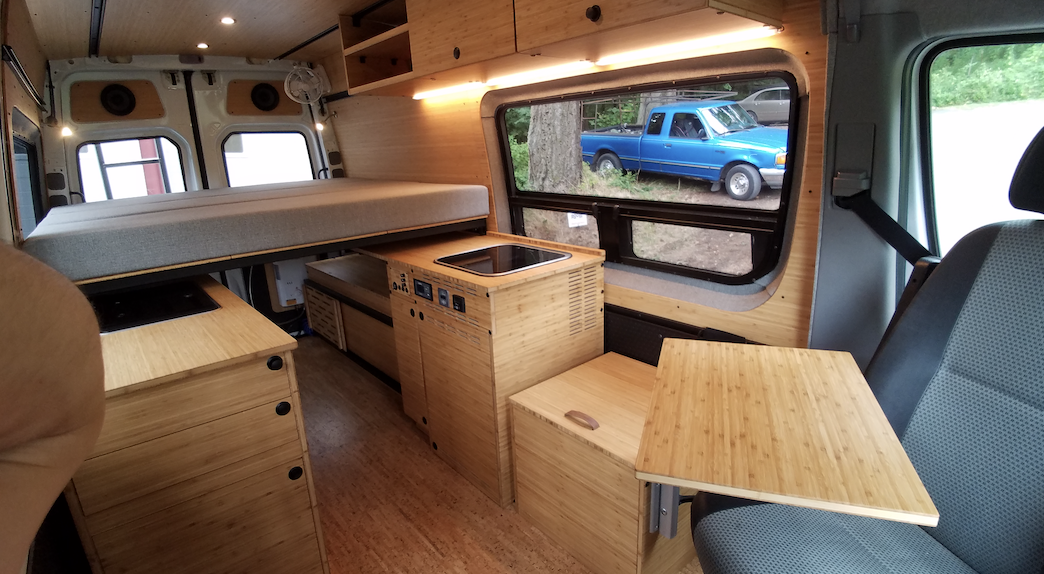
Cabinetry
Once the Core is in, cabinetry becomes easy, because it’s mounting to something intentional.
In a full build like this, that can include:

We often upgrade to stranded (fossilized) bamboo countertops. They hold up, and they look good. We hide kickplate drawers in the base cabinets because there is nothing worse than wasted space in a van.
Everything ties back to the van rail system. So if something needs to change later, it can.
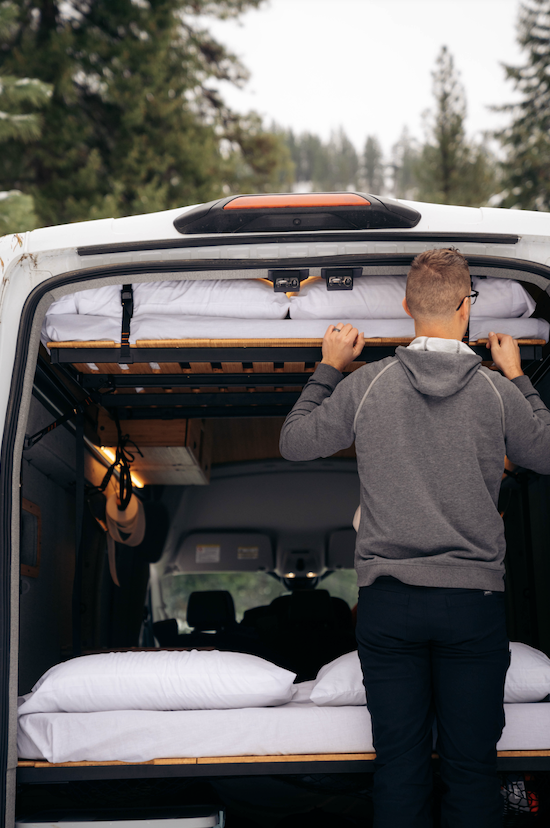
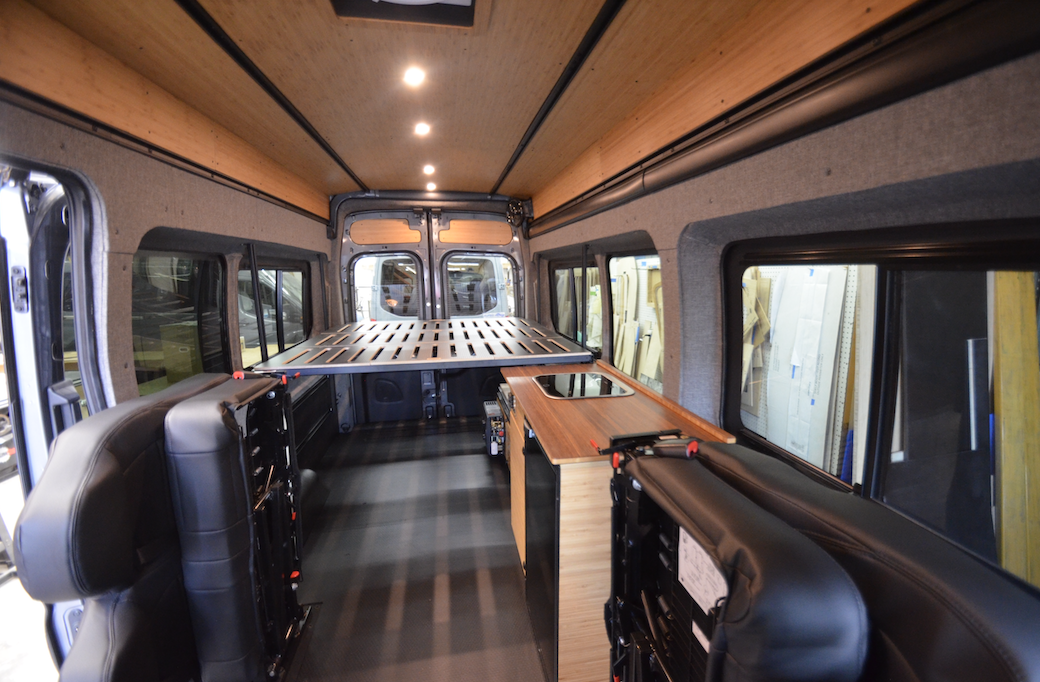
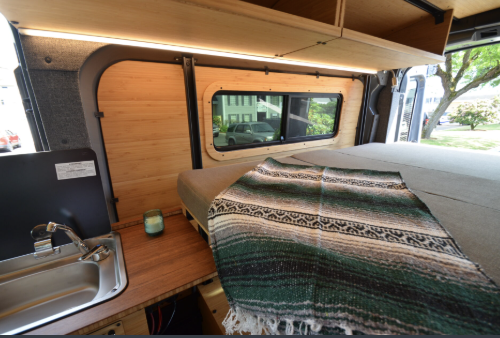
Sleep
Beds in vans tend to take over, ours doesn’t.
The Fu-Kit Bed System paired with our Mattress can be configured two-panel, two-and-a-half, or three-panel. You can also add our Flip-Up Kit, which gives you a sofa and garage access. Plus you gain 24” of counter top space on each side.
Keep it Simple Stupid
This build runs a 20-gallon over-the-wheel-well tank with interior fill:
- No unnecessary holes punched in the van body.
- Fresh water monitoring.
- Battery monitoring.
- Pump switch.
= Straightforward.
For toilets, we stick with the Loo Bench.
Paired with the Stansport EasyGo Loo. We like this option because there are no chemicals. no composting fans pulling power 24/7, and no diaper-genie situations.
If you want the long explanation of why we don’t overcomplicate toilets, it’s here:
Roost Vans Thoughts on Toilets in Vans <link to blog
Most people just need a place to pee at 2 a.m. Let’s not turn it into a science experiment.
Climate Control
With 800 amp-hours and proper charging, we can run:
- Dometic RTX 2000 A/C
- Espar heater
Heating and cooling are only complicated if the power system isn’t designed for it. When it is, it just works.
Full Build
A full Roost build isn’t about cramming every possible feature into a van.
It’s about layering systems correctly:
- Rail system
- Power infrastructure
- Modular paneling
- Intentional cabinetry
- Flexible bed system
- Right-sized water system
- Simple toilet solution
Everything builds on the previous layer. That’s what you’re seeing in this Transit. It’s not flashy for the sake of being flashy. It’s built so you can use it… Fix it… Upgrade it… And not be scared of it.
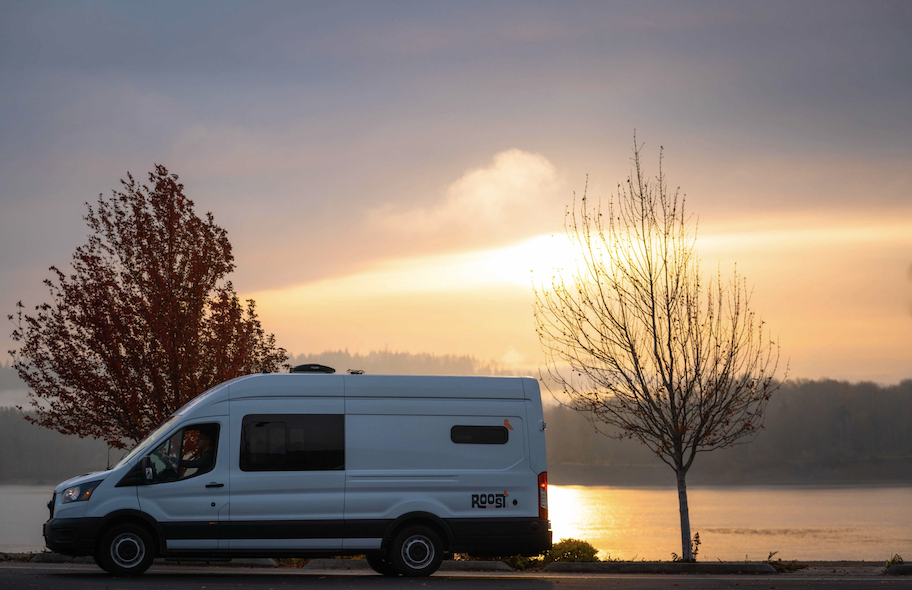
We’ve embedded the full walkthrough video below so you can see how all of this actually comes together in a real van.
If you’re thinking about a phased build, a DIY install, or having us do a full conversion, this is a solid example of what’s possible.
You can explore all of our systems and products at: roostvans.com
Build it simple.
Build it serviceable.
Then go use it.