
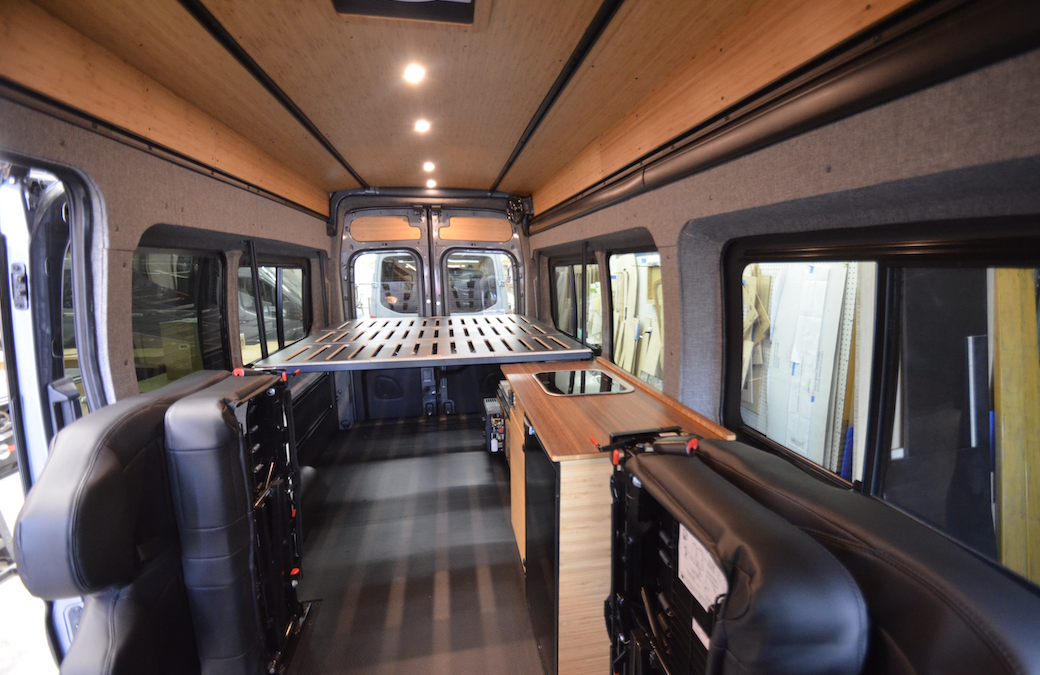
Planning Your Van Layout: A Deep Dive
We’ve built over 140 vans now at Roost Vans. We’re primarily a van interior product company: an ecosystem of products that all mount to our Smooth Rail Mounting System, installed into Sprinter, Transit, and soon RAM ProMaster class B camper vans. We don’t chase heavily customized one-off work. Instead, we’ve built a standard product line with a lot of modularity, which lets us build high-quality vans quickly and lay them out in a lot of different ways at a tremendous value.
Start With Priorities, Not Products
Layout planning starts with assessing what you actually want out of the van, roughly in this order of impact on floor space:
- Seating — has the single biggest impact on layout
- Sleeping — side to side, front to back, dinette or garage, next biggest impact
- Kitchen — How functional, or how simple
- Storage — What cabinets to use vs open space to keep
- Power — How long do you want to be off grid vs how much do you want to spend
We use a detailed client questionnaire to work through this, and almost every one comes back wanting everything. That’s completely normal, but a class B camper van doesn’t defy the laws of physics. Something has to give, and figuring out what matters most to you is most of the work.
One detail that surprises people: within the Sprinter and Transit lineup, body length doesn’t scale the way you’d expect. The 144 Sprinter and 170 Sprinter sit at opposite extremes, while the Transit’s regular 148 wheelbase and extended 148 body land in between. A layout that works beautifully in a regular 148 (technically a 148L) won’t necessarily translate to a 144, because you can simply run out of room.
Our Design Tools
A few tools we lean on for every layout:
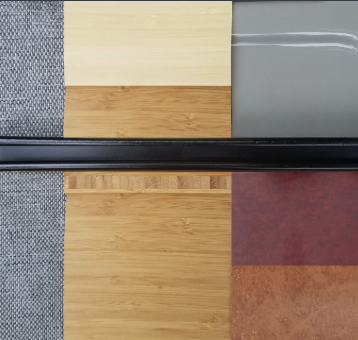
- Mood boards — before committing to materials, we map out how much bamboo, Hexply flooring, and other colorways will actually show. It’s easy for a van interior to get visually busy fast, and a mood board catches that before it happens.
- Inset panels — instead of flare spaces, inset panels around the windows gain you 4 to 6 inches of usable width for side-to-side sleeping, plus a cleaner look.
- Three functional zones — seating, kitchen, and sleeping. These can overlap, and how much you let them overlap is one of the biggest layout decisions you’ll make.
Zone by Zone
Seating: A second-row bench seat gives us a mounting point for a much larger Lagun articulating table, since we can anchor to the seat’s frame instead of the wall.
Kitchen: Our Flip-Up Kit bed system at bike and counter clearance can store a bed panel over the kitchen, extending your countertop by up to 24 inches when folded up. Exposed only when you need it. A standard passenger-side kitchen cabinet adds exterior fridge access and a flip-down outdoor table, which pairs well with an awning.
Sleeping: Three main approaches: a dinette, an elevated Flip-Up bed platform, or our hanging Strap-Up Bed System, which raises to the ceiling or lowers to the wheel wells and can level itself out even when the van’s parked at an angle.
Storage: We’ve found sliding pull-out trays look great on paper but tend to bind once a van is actually loaded. Our Flip-Up Bed gives comparable garage access without that problem.
Power: We’re strong proponents of portable power stations, Goal Zero and EcoFlow especially, because for the price you get an inverter, engine charger, up to a roughly 400 amp-hour battery bank, and a solar charge controller in one simple unit. Versus building an equivalent custom system component by component at more cost and more space.

What Real Builds Look Like
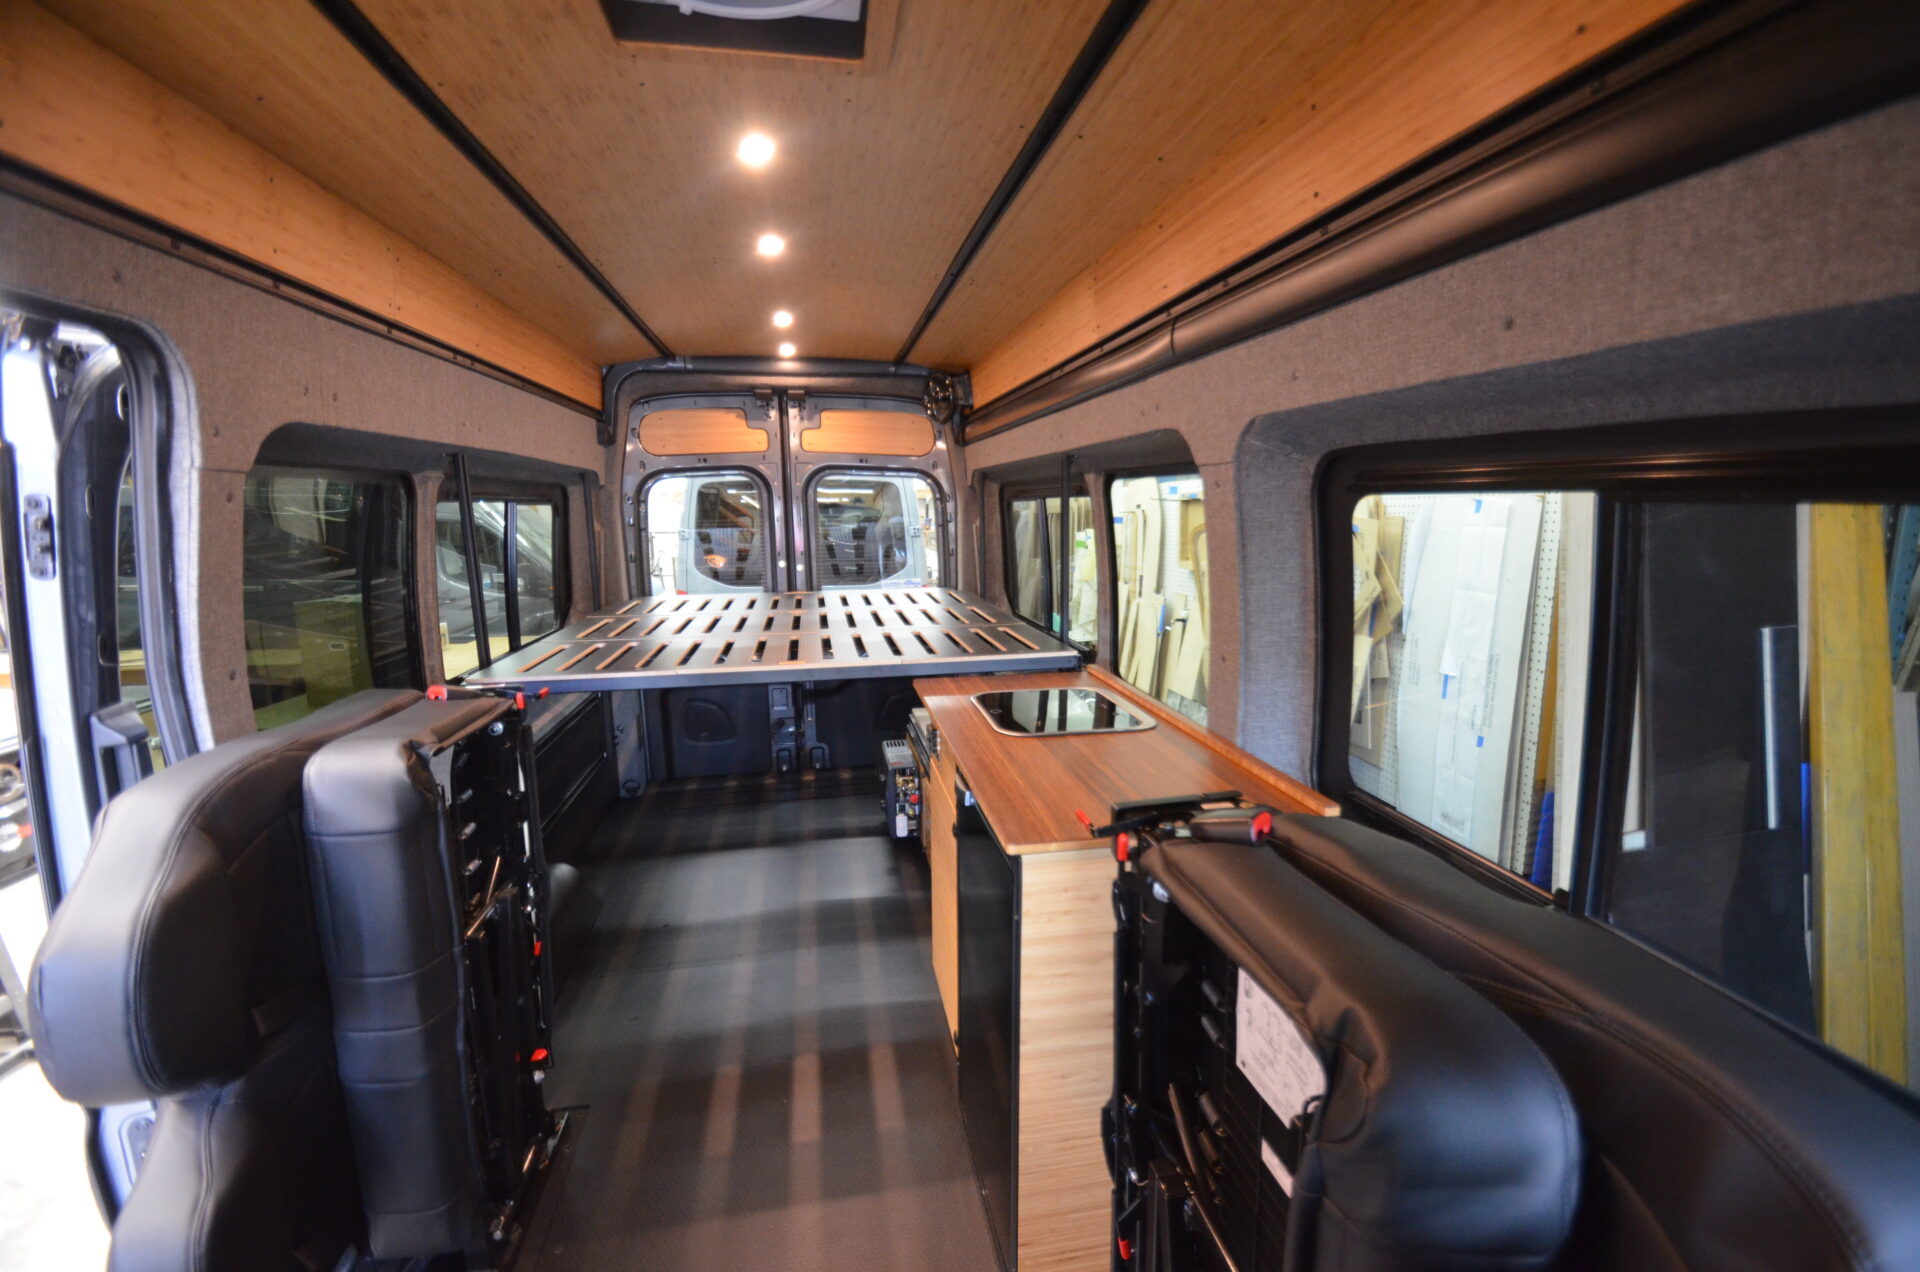
We walked through around 15 builds across four categories: short vans with extra seating, short vans with just the factory two seats, and the same two categories in long-body vans. A few patterns stood out:
- Short bench-seated (family) vans (144 Sprinter, 148 Transit) can fit a dinette, a second-row bench with an articulating table, and either the Strap-Up or Flip-Up Kit bed, sleeping up to four. A small Kitchen size depends heavily on wheel well placement, Transit’s wheel well sits further back, so it can often fit a full two-module kitchen where a Sprinter fits one and a half. There’s still room, but not much so it needs to be planned carefully.
- Long bench-seated (family) vans open up enough room for a full dinette, a two-module kitchen on the driver side, and a walk-through compact cabinet on the other, without sacrificing much of anything.
- Short and long couple vans (no extra seating) get the most flexible layouts. With more floor space freed up, we can add compact passenger-side kitchen cabinets, bigger dinettes, or even dual water tank setups for owners who want to rinse off dogs or gear after every trip.
Across nearly every build, swivel seats, articulating tables, and inset paneling did the most work to make a small space feel bigger and more livable at the best value.
Not Sure What You Want? Rent First
Our best advice for anyone still deciding between a Sprinter, Transit, or ProMaster: go rent one and live in it for a few days before committing. Outfitted rental marketplaces like Outdoorsy are a great way to test different layouts and platforms firsthand.
If you want more on the Sprinter vs. Transit decision itself, we covered that in detail in an earlier webinar, now up on our YouTube channel.
Let’s Talk Layout
Every build starts with the same conversation: what do you actually need this van to do? Reach out to us at sales@roostvans.com, or browse our full DIY product lineup, knowing more is available for in shop installation, to start getting a feel for what’s possible.