Planning a camper van layout sounds simple at first.
Put a bed in the back, maybe a kitchen along the side, add some storage and call it good.
But once you start working through the details—seating, sleeping arrangements, water, power, gear storage—you quickly realize that van layout design is really a process of prioritization and compromise.
At Roost Vans we’ve built well over a hundred vans over the years, and one of the biggest lessons we’ve learned is that the most functional layouts come from deciding what actually matters most, and not trying to fit everything into the van.
This article is a deeper dive into how we think about planning and layout when building camper vans.
Start With Priorities (Not Products)
The first question we ask customers has nothing to do with cabinetry or materials… It’s about how the van will be used.
Typically the priority list looks something like this:
- Seating
- Sleeping
- Kitchen / cooking
- Storage
- Power
Seating tends to be the biggest driver because it immediately affects how much usable floor space you have.
For example:
- A second-row bench seat opens the van up for families, but takes up a significant footprint.
- A two-person cab-only setup gives you far more design freedom.
Once seating is determined, the rest of the layout starts to take shape: Sleeping arrangements, kitchen size, and storage capacity all begin to revolve around that first decision.
And one thing becomes clear quickly: You can’t have everything. Even the longest Class B camper vans still have limited space.
Understanding Van Size Differences
Something that surprises a lot of people is how different van platforms affect layout options.
The three main vans we build in are:
Each one has slightly different dimensions.
For example:
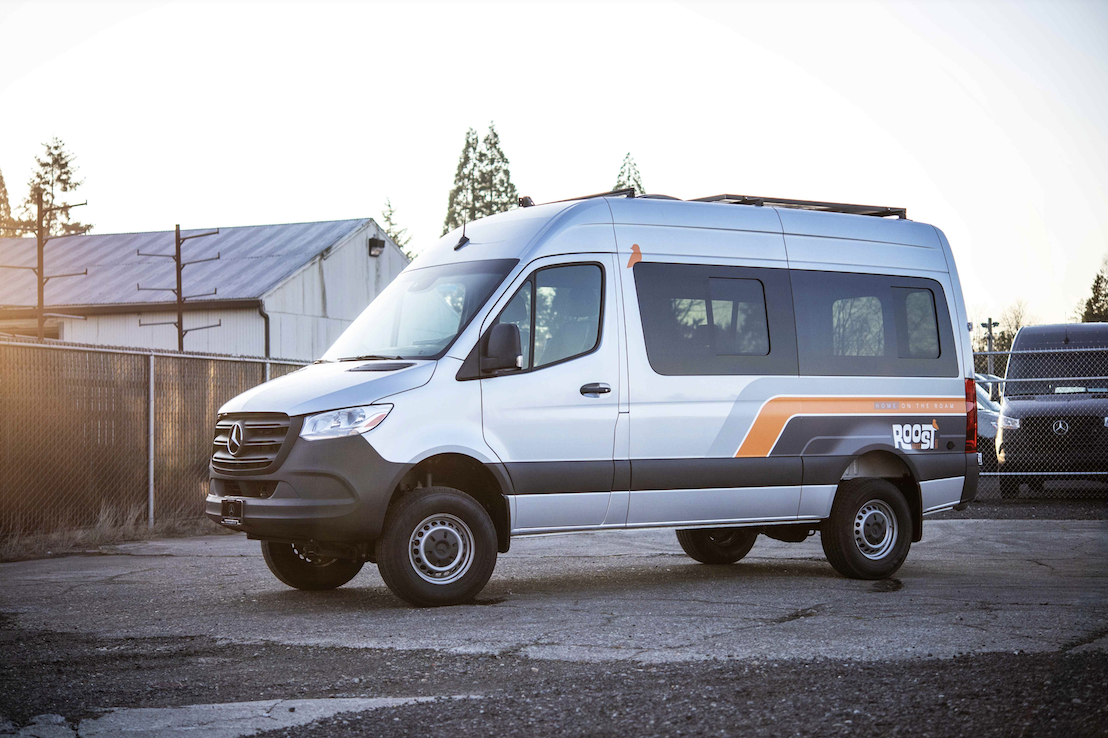
- The Sprinter 144 is one of the shortest vans in the category.
- The Sprinter 170 is one of the longest.
- The Transit 148 tends to fall somewhere in the middle but has the same wheel well placement.
That wheel well and body length dramatically affects things like kitchen opportunity and living area size placement.
In some cases a Transit 148 regular can fit a two-module kitchen, while the comparable Sprinter 144 can fit a one-and-a-half module kitchen. Small dimensional differences can have big layout consequences.
Think in Zones
One of the easiest ways to conceptualize a van layout is by dividing the van into three zones:
1. Seating Zone
This is where people gather, eat, work, and relax.
For example:
A second-row bench seat paired with a Lagun articulating table mount can create a surprisingly large and flexible workspace. Check this video out of a Second Row seat we installed with our Lagun specialty mount.
By mounting the table to the seat frame rather than the wall, you can run a much larger tabletop without interfering with movement through the van. This gives both the passenger and driver the ability to use a table.
2. Kitchen Zone
The kitchen is usually the most debated part of a van build. Some people want a full galley with water systems, large counters, and refrigeration. Others want something much simpler.
Our most common kitchen options include:
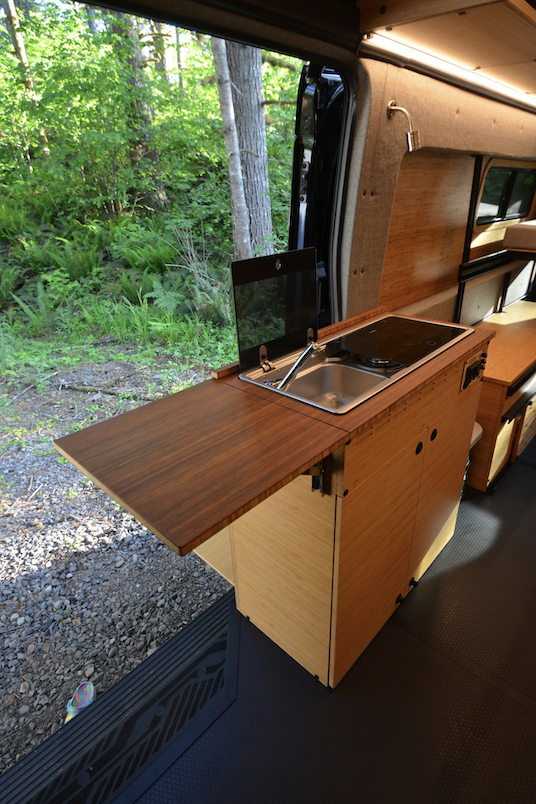
Passenger Side Kitchen Cabinet
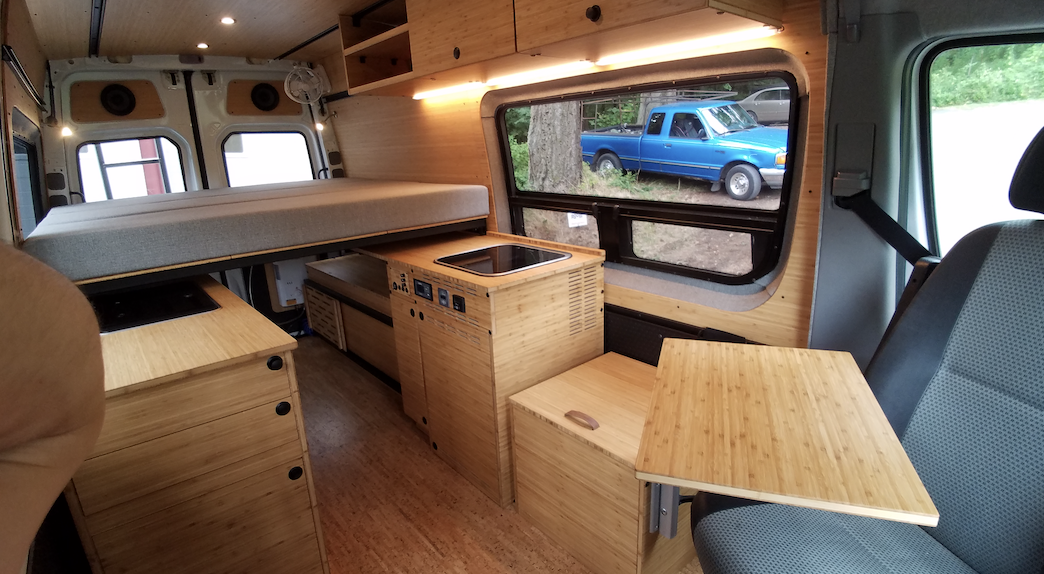
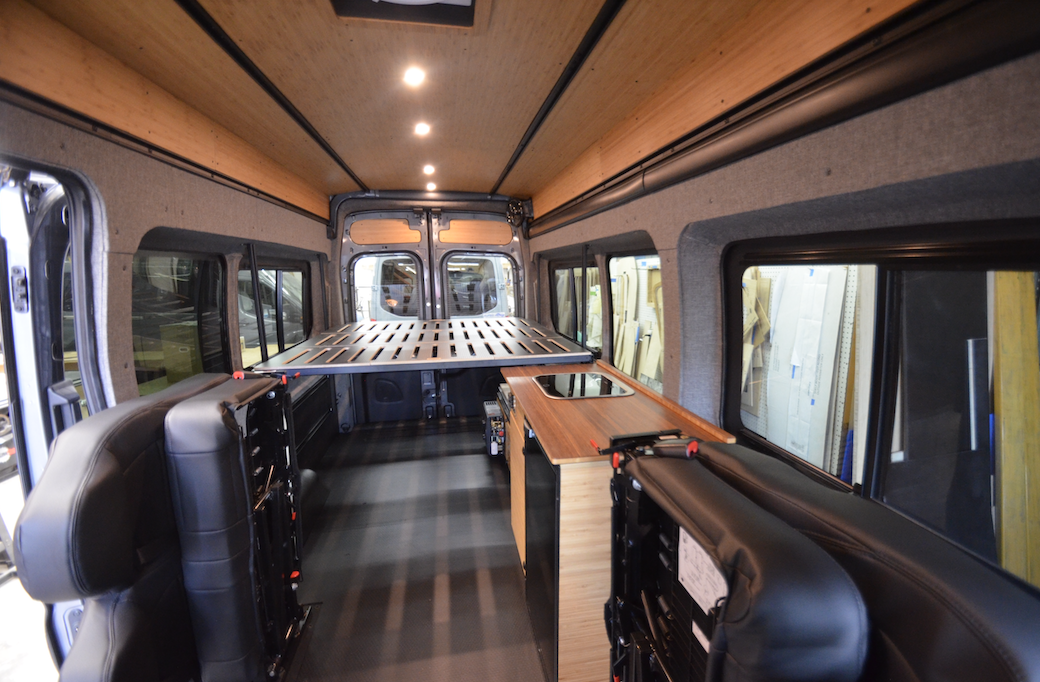
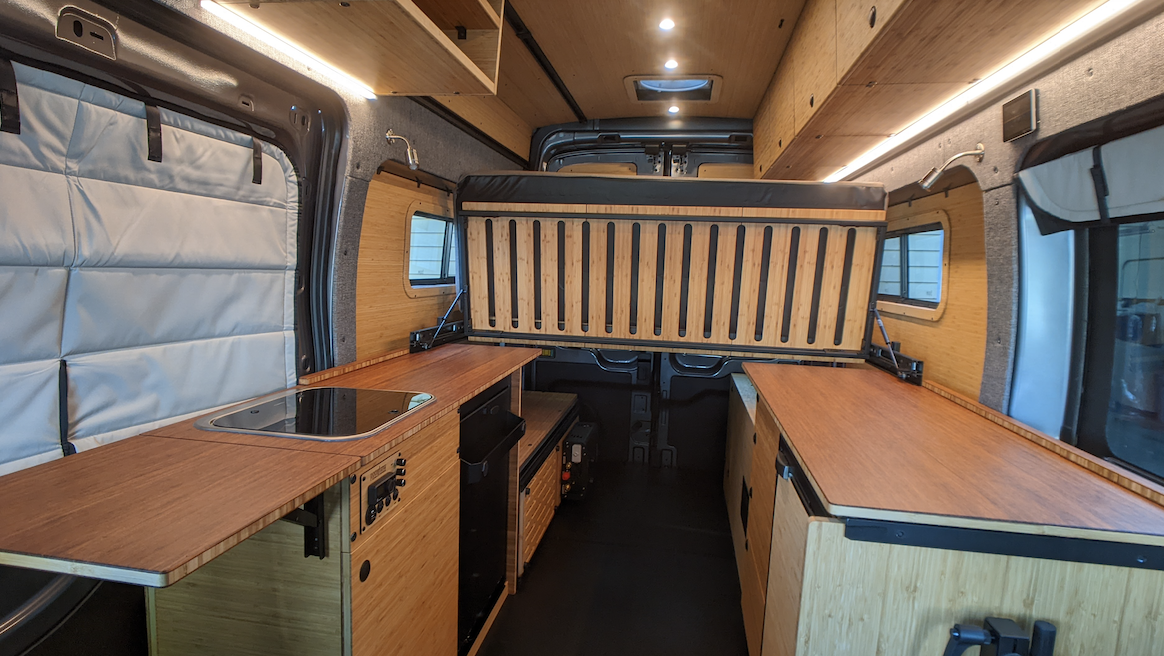
One of my favorite design tools is combining a kitchen with the Fu-Kit Bed System.
The front panel of the bed can flip up, allowing the countertop to extend underneath it. This creates a much larger workspace without permanently occupying floor space
A compact passenger-side kitchen cabinet with a flip-down table can also expand the living area dramatically, especially when paired with an awning like the Fiamma F45S.
3. Sleeping Zone
There are three common approaches to sleeping in vans:
Dinette beds
Convert seating into a sleeping platform.
Elevated platform beds
Often with a garage underneath.
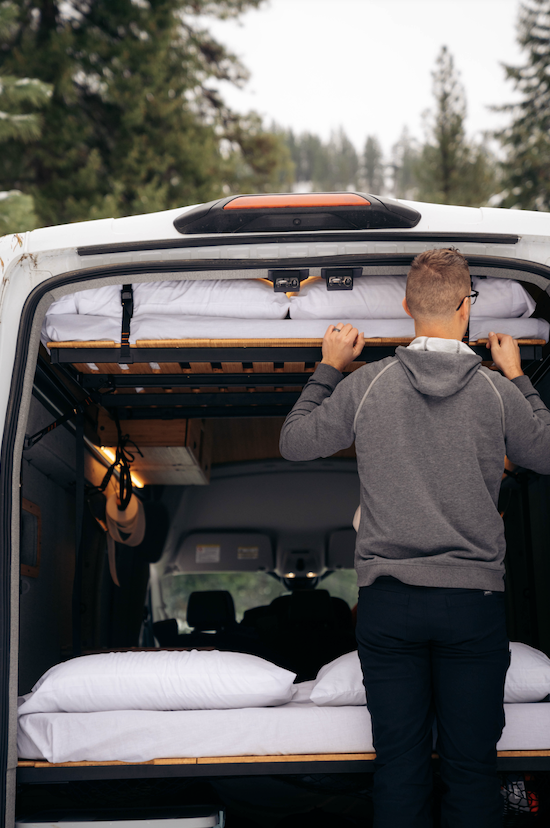
Hanging beds
Perfect for a bunk or bringing a motorcycle.
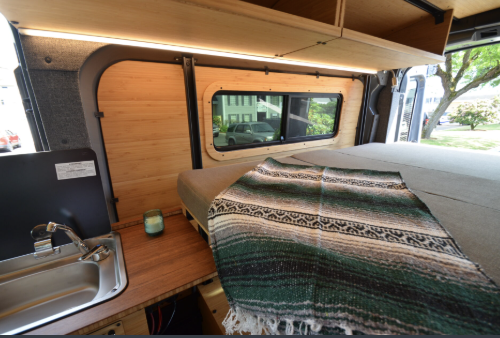
At Roost we commonly use our Fu-Kit Bed System or Strap-Up Bed System
The Strap-Up system is especially useful when you want sleeping space without permanently dedicating floor space to a bed.
You can sleep four people in a van while still keeping the living area usable during the day.
Storage and Garage Space
Garage space underneath the bed is often where large gear lives:
- Bikes
- Skis
- Surfboards
- Storage bins
Many people initially request sliding trays, but in practice we’ve found they’re not always necessary.
With a flip-up kit installed on our FU-Kit bed system, you can often access the entire garage area simply by lifting the bed panel.
This avoids the weight, cost, and complexity of large sliding trays.
Power Systems: Simplicity vs Complexity
Power systems are another area where simplicity can go a long way.
Traditional custom electrical systems involve:
- Battery banks
- Inverters
- Solar controllers
- Multiple electrical components
- And a lot of crimped connections
A much simpler option we are using is portable power stations.
We commonly use:
Goal Zero power stations and the expandable EcoFlow Delta 3 Max Plus
These integrate:
- Lithium batteries
- Inverter
- Charging: ‘Shore’, solar charging, and engine
- Power management
- A powerful 12v DC supply
All in one compact unit.
They can deliver roughly the equivalent of a 400Ah system in a much smaller footprint. You can read our deep thoughts on power blog for more information.
Design Tools That Help Layout
Beyond physical layout, we also use a few design tools when working with customers.
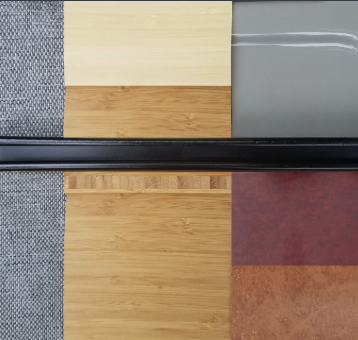
Mood Boards
A van can get visually busy very quickly.
Between flooring, cabinetry, wall panels, upholstery, and hardware there are a lot of materials involved.
Creating a simple mood board helps determine:
- How much bamboo paneling to show
- Flooring styles
- Color palettes
- Fabric combinations
It helps keep the final design cohesive.
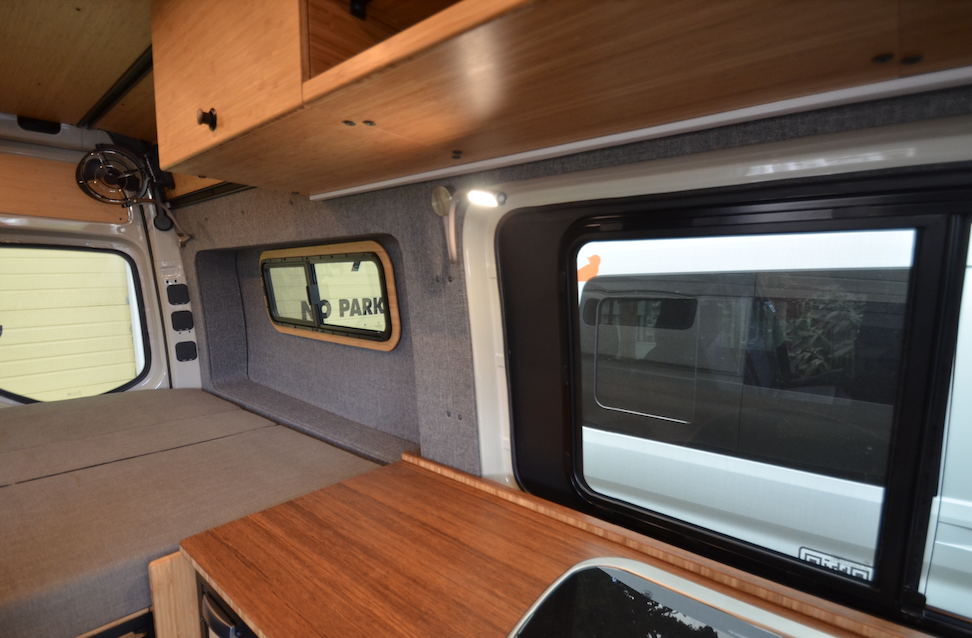
Inset Panels
Inset wall panels are another useful design trick.
They can add 4–8 inches of usable interior width, which can be the difference between sleeping sideways or lengthwise.
And, this can eliminate the need for expensive external flares.
Different Layout Types
Over the years we’ve seen four main layout categories emerge.
Short Van With Multi-Seating
Best for families.
Often includes:
- Second-row bench
- Dinette
- Strap-Up Bed
- Compact kitchen
These builds prioritize seating and flexibility.
Long Van With Multi-Seating
The extra length allows:
- Larger kitchens
- Bigger garages
- More storage
- Dedicated workspaces
Families and adventure sports users often prefer this format.
Short Couple Vans
These are some of the most efficient layouts.
With no second-row seats, you gain space for:
- Larger kitchens
- Bigger benches
- More cabinetry
Long Couple Vans
This is where layouts start to feel more like small apartments.
With a longer van body you can include:
- Large dinettes and…
- Multiple lounging areas
- Expanded kitchens
- Dedicated workspaces
These builds are excellent for people living or working on the road.
The Biggest Layout Lesson
After designing hundreds of vans, the biggest takeaway is this:
Good layouts are intentional.
Trying to fit every possible feature into a van rarely works.
Instead, the best vans come from understanding how many people travel in the van; What activities the van supports; And how often those activities happen. From there, the design becomes much clearer.
Thinking About Your Own Van Layout?
If you’re planning a build and want help thinking through layout options, we’d love to help. Start with our products and build ecosystem here.
Our modular mounting platform allows cabinetry, beds, and other components to be installed, removed, and reconfigured as your needs evolve.
Because your van should grow with your adventures, not limit them.
Watch the Full Planning Webinar
If you want to go deeper into this topic—including real van layout examples—we recently hosted a full webinar walking through dozens of builds and layout strategies.
You can watch the full presentation here: